Verifying an SD-JWT VC (EUDI) via OID4VP
Overview
This guide walks you through requesting and verifying an SD-JWT VC from a EUDI Wallet:
- Create a certificate identifier → establishes you as a trusted verifier and is used in the verification request
- Create a credential schema → defines the credential type you want to request data from
- Create a proof schema → defines which claims you want to request, and can combine claims from multiple credential types
- Send a verification request and receive the response
The certificate identifier and schemas are one-time setup. After that, sending a verification request is just a matter of scanning a QR code.
Prerequisites
- Permissions to create identifiers and schemas, and verify credentials
- A compatible wallet app containing a valid SD-JWT VC — either your own
for testing, or a credential held by the person you are verifying
- Procivis One Wallet is available for free
Steps
Turn on the EUDI country profile
- In the top-right country profile dropdown, select EU Digital Identity Wallet
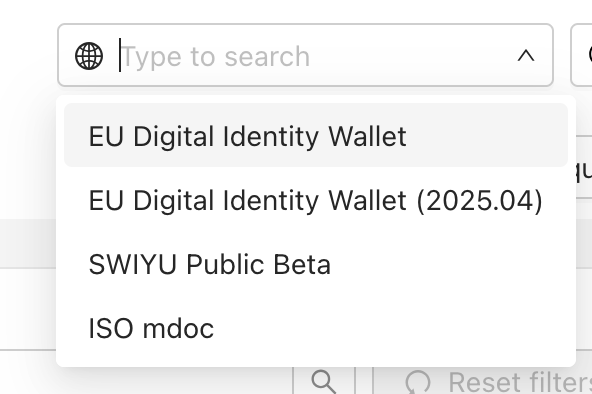
This automatically filters the UI to show you only options that comply with the chosen ecosystem.
Applying the country profile is optional, but helps by providing guardrails.
Create a certificate identifier
- If you created a certificate identifier for issuance, you can reuse it here. Otherwise, follow the steps in Issuing an SD-JWT VC (EUDI).
Once you have created your certificate identifier you can reuse it for all EUDI issuance and verification. For productive use cases, this will be the certificate you must get added to the relevant trust lists.
Create a credential schema
If you are the issuer of the credential you want to verify, you already have this schema in your system — skip to step 4.
To verify a credential you did not issue, you need to recreate its schema here.
Include all claims defined in the credential's data model, even those you don't intend to request right now. Schemas cannot be edited after creation — adding a claim later requires deleting and recreating the schema.
- Navigate to Credential schemas
- Click Credential schemas
- Click New credential schema
- Set up the schema
- Enter
Power of Representationfor the schema name- Use a name that identifies the credential type — this is for your reference only
- Select IETF SD-JWT VC for the format
- Select Basic for Wallet key attestation
- Select Token Status List for revocation method
- Click Advanced options and enter
urn:eu.europa.ec.eudi:por:1for Document type- For other EU credential types, enter the
vctvalue from the credential's specification or metadata
- For other EU credential types, enter the
- Click Next step
- Enter
- Define the attributes
- For each attribute, click Add another attribute, enter the claim name, set the Attribute type, and check Required as appropriate. For the Power of Representation:
| Claim | Attribute type | Required |
|---|---|---|
legal_person_identifier | String | Yes |
legal_name | String | Yes |
full_powers | Boolean | Yes |
eService | String | No |
effective_from_date | Date | Yes |
effective_until_date | Date | No |
issuance_date | String | Yes |
expiry_date | Date | Yes |
issuing_authority | String | Yes |
issuing_jurisdiction | String | No |
issuing_country | String | Yes |
- Click Next step
- Choose your credential design → Next step → Save
Create a proof schema
A proof schema defines the credential data you want to request. It can combine claims from multiple credential types.
- Navigate to Proof schemas
- Click Proof schemas
- Click New proof schema
- Set up the schema
- Enter a name for the proof schema, for example
Power of Representation Request - Click Next step
- Enter a name for the proof schema, for example
- Choose the credential and claims to request
-
Select Power of Representation (or whichever credential schema you want to request data from)
-
Select the claims you want to request
tipOnly request claims you actually need. If you request a claim that was optional during issuance, the holder's wallet may not have it — causing the verification request to fail.
-
Click Next step → Save
-
Send a verification request
- Click Verifier in the left sidebar
- Click Request proof
- Select your proof schema
- Select OpenID4VP final 1.0 (HAIP) for the protocol
- Select EUDI Certificate for the verifier → Submit
→ A verification QR code appears
Present the credential
- Present the QR code to the holder → they scan it with their wallet app and submit the proof